TABLE OF CONTENTS
- 1. Creating a plot
- 2. Select data
- 3. Setting parameters
- 4. Creating the gene metadata table
- 5. Gene metadata table interactive plot page
- 6. Gene metadata table as input for the rule and rank-based meta-analysis
With gene metadata table you can explore additional information on your genes of interest via an interactive table. This information can be acquired from a variety of databases, access to which is determined by your subscription.
1. Creating a plot

To create a gene metadata table first click on the create plot icon in your analysis track. This will open the Create plot page. You can then fill in the plot name and the rest of the plot template.

In the Create plot field you can set a name and description of the plot. Subsequently under Choose algorithm to run your analysis select "Gene metadata table". Once you have selected this option, a new field called "Select database" will appear.

2. Select data
Gene metadata tables can either be created by fetching data directly from a database or from previously uploaded gene metadata datasets. You can learn how to upload and create a gene metadata dataset here.
Depending on the input source the remainder of the workflow for creating a gene metadata table will differ slighly. Thus we wiill examine the subsequent steps side by side for each of the input sources.
2.1 Selecting a database as an input source
In the field Select data, you can pick from which source to acquire the gene metadata. Select the "Database" option to retrieve gene metadata from a database. In the "Choose a database" menu you can select from which database you would like to fetch gene metadata. Once you have selected a database from the dropdown menu confirm you selection by clicking on the Select database button. This will open the "Set parameters" menu.

2.2 Selecting the dataset library as input source
Select the "Dataset library" option to to select a gene metadata dataset that has been assigned to the current workspace by clicking the "Select dataset from workspace dataset library" button. Once you have selected a database from the dropdown menu confirm you selection by clicking on the "Select dataset" button. This will open the "Set parameters" menu.

3. Setting parameters
The set parameters menu witll be different depending on previously selected input source.
3.1 Set parameters for database input source
In the Set parameters field you can specify for which genes of interest you want to acquire which gene metadata attributes. The genes you specify in the Genes of interest tab will be available in the gene metadata table. The available choices here are are "All" and "Custom", with the former being default.

Selecting the "All" option will limit which attributes you will be able to select in the "Attributes of interest". The attributes that will not be displayed are:

1. Interactions
2. GeneHancer database
3. Variants
4. Unified compaunds
5. Unified drugs
6. Publications
If you select the "Custom" option a new multi-select menu will appear where you can enter the gene symbols of your genes of interest.

In the Attribute of interest tab, all of the attributes of the gene metadata database are displayed in a dropdown menu. From here you can select one or more attribute of interest.
If you select multiple attributes of interest a separate plot will be created for each of the selected attributes. This feature allows you to easily explore multiple attributes for your genes of interest.  The newly created plots will have the following naming convention:"Plot name | Atrribute name".
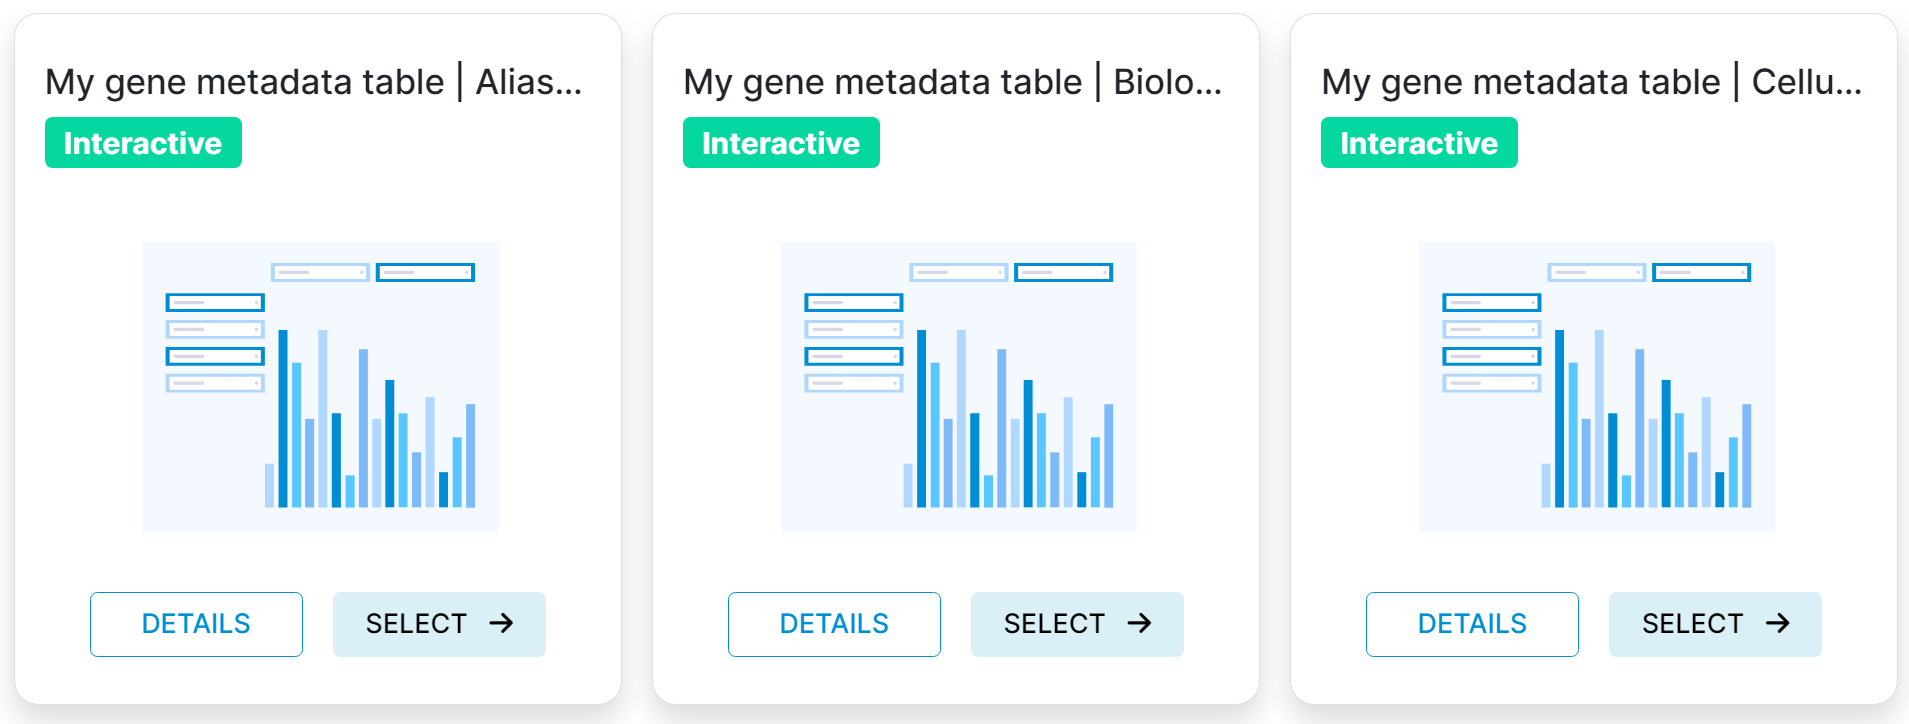
3.2 Set parameters for dataset libary input source
There are no additional parameters to set when selecting the a dataset from the dataset library as input source. You can proceed by clicking the "Run" button

4. Creating the gene metadata table
When you have these settings set you can click the Run button to create the gene metadata table. I will appear as a new plot in your track from which you can select it and view it as an interactive plot.

5. Gene metadata table interactive plot page
In the interactive plot page you can explore the results of the gene metadata table via a pivot table.

6. Gene metadata table as input for the rule and rank-based meta-analysis
This newly created gene metadata table can be selected as input in the rule or rank-based meta-analysis.
6.1 Gene metadata table as input for the rule-based meta-analysis
When setting up the rule-based you can set the rules for the gene metadata table via a gene selection pivot table by clicking the "Select genes" button.

You can use the pivot table to make a selection of your genes of interest based on if they satisfy gene metadata criteria. You can make a selection based on both categorical and numerical variables. The resulting gene selection table will display all your genes of interest and wheter they pass your selection criteria.
6.2 Gene metadata table as input for the rank-based meta-analysis
In the rank based meta-analysis you can use one or more numerical columns to create the same number of ranked gene lists. You can specifiy in you want the gene list to be sorted in ascending or descending order for each individual numerical column. Lastly, you can decide which aggregation method to use if there are multiple numerical values corrensponding to the same gene. By defualt, this methods is "Average". Missing values are ommited from aggragation.

Was this article helpful?
That’s Great!
Thank you for your feedback
Sorry! We couldn't be helpful
Thank you for your feedback
Feedback sent
We appreciate your effort and will try to fix the article